Installing Exchange 2013 on Windows Server 2012r2
Before we proceed with installation of exchange roles we need to make sure about few things. There are number of prerequisites to install Exchange 2013. Setup process might be divided in to 3 main stages:
- Active Directory preparation
- Installing prerequisites on servers
- Installing Exchange
We will go through each of the above to successfully install Exchange 2013 CAS and MBX roles.
1. Active Directory preparation
In order to successfully install exchange 2013 active directory have to adjusted to comply with Exchange 2013. If you are installing first Exchange server in AD this step is necessary.
There are two ways to prepare AD for Exchange 2013:
- Run preparation process before Exchange 2013 setup
- Run ad preparation during Exchange 2013 setup as part of the setup process
I prefer to run it before launching the setup. So, in order to prepare the AD we need to install RSAT-ADDS tools. Open powershell and type the following commands:
Import-Module ServerManager

Add-WindowsFeature RSAT-ADDS
If you are installing it on a DC – this future would be more likely already installed, output should be similar to this:
PS C:\Users\admin\Desktop\exchange> Add-WindowsFeature RSAT-ADDS

Success Restart Needed Exit Code      Feature Result
------- -------------- ---------      --------------
True    No             NoChangeNeeded {}
Now, if this a first exchange server in the environment, run the following command to prepare the AD:
setup /PrepareAD /OrganizationName:"your organization name" /IAcceptExchangeServerLicenseTerms
Change “your organization name” to organization name. Make sure that user which is running the setup is a member of Schema Admins AND Enterprise Admins group in Active Directory! Otherwise setup will fail!
Executing above command will take a good few minutes to complete. After successful run you should be presented with a screen similar to below:
PS C:\Windows\system32> cd C:\Users\admin\Desktop\exchange
PS C:\Users\admin\Desktop\exchange> .\setup /PrepareAD /OrganizationName:"miloszengel blog" /IAcceptExchangeServerLicens
eTerms

Welcome to Microsoft Exchange Server 2013 Unattended Setup
Copying Files...
File copy complete. Setup will now collect additional information needed for installation.

Performing Microsoft Exchange Server Prerequisite Check

    Prerequisite Analysis                                                                             COMPLETED
 Setup will prepare the organization for Exchange 2013 by using 'Setup /PrepareAD'. No Exchange 2010 server roles have been detected in this topology. After this operation, you will not be able to install any Exchange 2010 servers.
 For more information, visit: http://technet.microsoft.com/library(EXCHG.150)/ms.exch.setupreadiness.NoE14ServerWarning.
aspx

Configuring Microsoft Exchange Server					COMPLETED

The Exchange Server setup operation completed successfully.
2. Installing Exchange 2013 prerequisites on Windows Server 2012 R2
Now we need to install prerequisites for exchange for specific roles, these would be Client Access Servers and Mailbox Servers. There are simply two commands to enter on depending on the role you are installing:
Client Access Server
- Open PowerShell
- Enter command:
Install-WindowsFeature AS-HTTP-Activation, Desktop-Experience, NET-Framework-45-Features, RPC-over-HTTP-proxy, RSAT-Clustering, Web-Mgmt-Console, WAS-Process-Model, Web-Asp-Net45, Web-Basic-Auth, Web-Client-Auth, Web-Digest-Auth, Web-Dir-Browsing, Web-Dyn-Compression, Web-Http-Errors, Web-Http-Logging, Web-Http-Redirect, Web-Http-Tracing, Web-ISAPI-Ext, Web-ISAPI-Filter, Web-Lgcy-Mgmt-Console, Web-Metabase, Web-Mgmt-Console, Web-Mgmt-Service, Web-Net-Ext45, Web-Request-Monitor, Web-Server, Web-Stat-Compression, Web-Static-Content, Web-Windows-Auth, Web-WMI, Windows-Identity-Foundation
- Output should be similar to below:
Success Restart Needed Exit Code Feature Result ------- -------------- --------- -------------- True Yes SuccessRest... {Application Server, HTTP Activation, .NET... WARNING: You must restart this server to finish the installation process. - Now, download and install the following packages:
- http://www.microsoft.com/en-us/download/details.aspx?id=34992
- Run Windows updates, install if necessary
- Reboot server
Mailbox server or both
- Open PowerShell
- Enter command:
Install-WindowsFeature AS-HTTP-Activation, Desktop-Experience, NET-Framework-45-Features, RPC-over-HTTP-proxy, RSAT-Clustering, RSAT-Clustering-CmdInterface, Web-Mgmt-Console, WAS-Process-Model, Web-Asp-Net45, Web-Basic-Auth, Web-Client-Auth, Web-Digest-Auth, Web-Dir-Browsing, Web-Dyn-Compression, Web-Http-Errors, Web-Http-Logging, Web-Http-Redirect, Web-Http-Tracing, Web-ISAPI-Ext, Web-ISAPI-Filter, Web-Lgcy-Mgmt-Console, Web-Metabase, Web-Mgmt-Console, Web-Mgmt-Service, Web-Net-Ext45, Web-Request-Monitor, Web-Server, Web-Stat-Compression, Web-Static-Content, Web-Windows-Auth, Web-WMI, Windows-Identity-Foundation
- Output should look like:
Success Restart Needed Exit Code Feature Result ------- -------------- --------- -------------- True Yes SuccessRest... {Application Server, HTTP Activation, .NET... WARNING: You must restart this server to finish the installation process. - Now install the following packages:
- Microsoft Unified Communications Managed API 4.0, Core Runtime 64-bit http://go.microsoft.com/fwlink/?LinkId=260990
- Microsoft Office 2010 Filter Packs – Version 2.0 http://go.microsoft.com/fwlink/?LinkID=191548
- Microsoft Office 2010 Filter Packs – Version 2.0 – Service Pack 1 http://go.microsoft.com/fwlink/?LinkId=262358
- Reboot server
You must run those on each server that will be holding specific Exchange roles.
Keep in mind that there is quite a lot to install so reboot might take a while. It’s good to run update check after reboot – just to make sure that nothing will interfere with installation with Exchange binaries.
Now, as we have ActiveDirectory ready, prerequisites on CAS nad MBX servers installed we can process to install Exchange on each server!
3. Installing Microsoft Exchange 2013 on Windows 2012 R2
Installing Client Access Server role:
Open setup.exe, confirm that you want to connect to the Internet and check for updates:

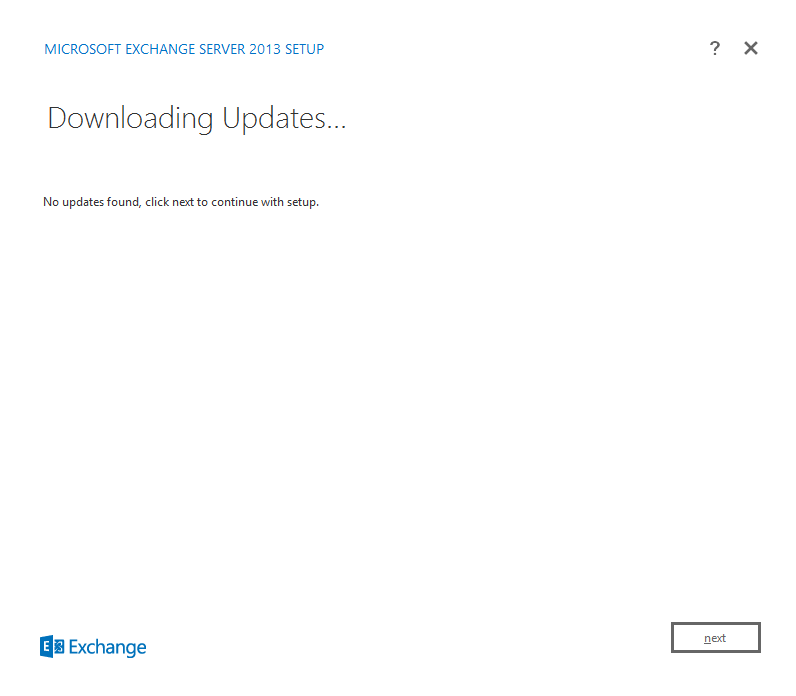
If you recently downloaded Exchange 2013 Setup from Microsoft download site there shouldn’t be any updates available:
After initial copy process
You will be presented with a welcome message:

Now, accept license terms and click Next:
After that screen you are presented with options:
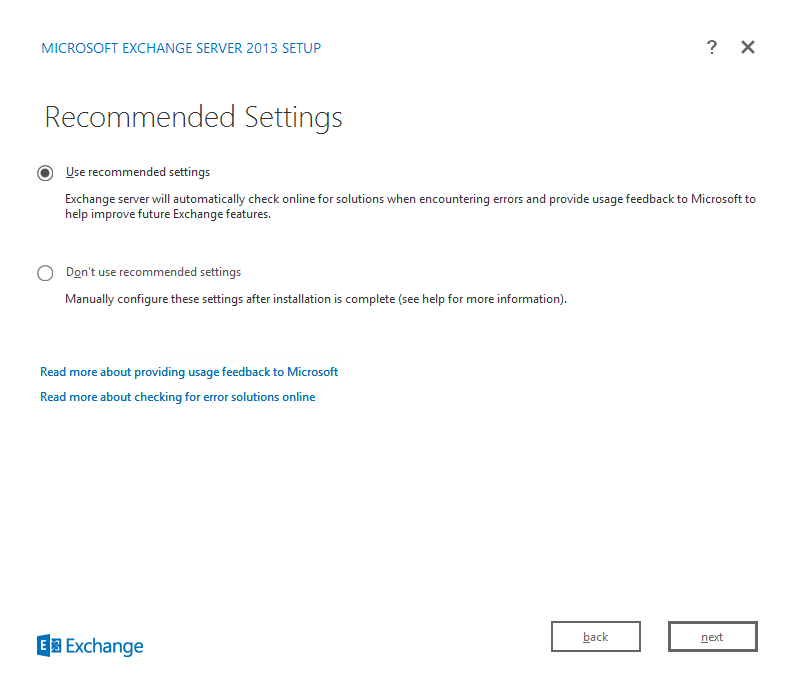
Select use recommended settings and press Next,
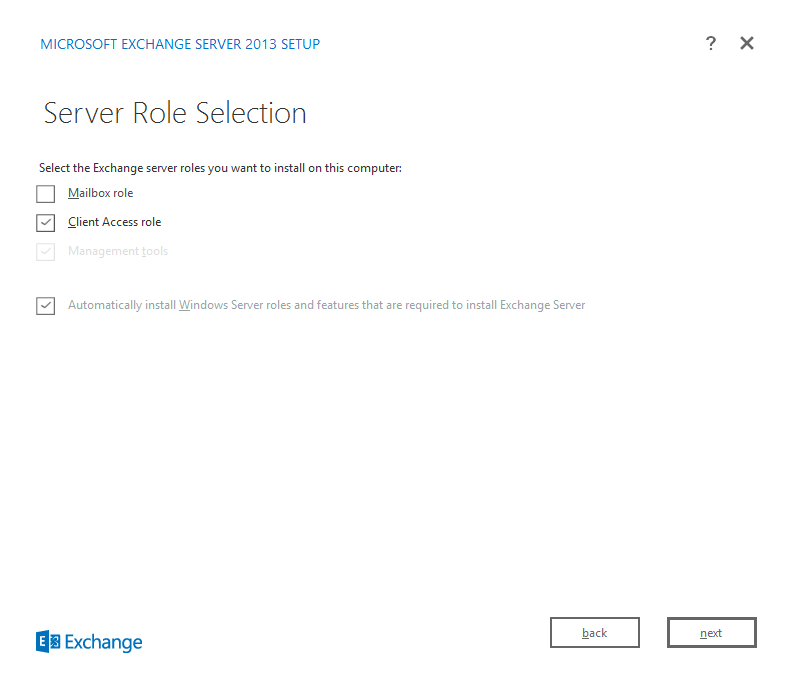
Now, select the appropriate role for this server. In our example- we select Client Access Server:
Now, select destination folder for your Exchange 2013 Install and press Next:

After that, setup readiness will be started:
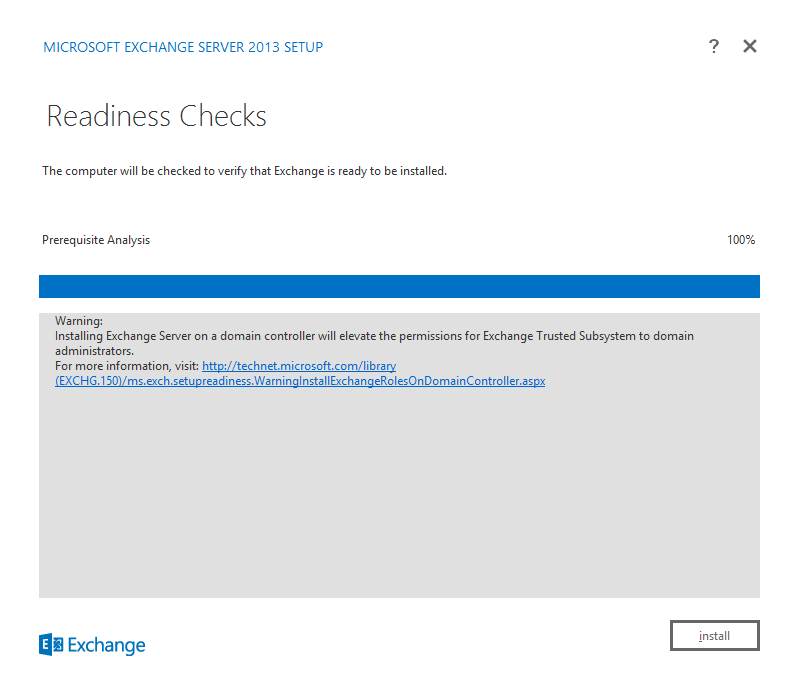
As you can see there is one warning. It is because we install Exchange on a domain controller. It’s ok for test lab environment. Click Install and wait till setup finishes:
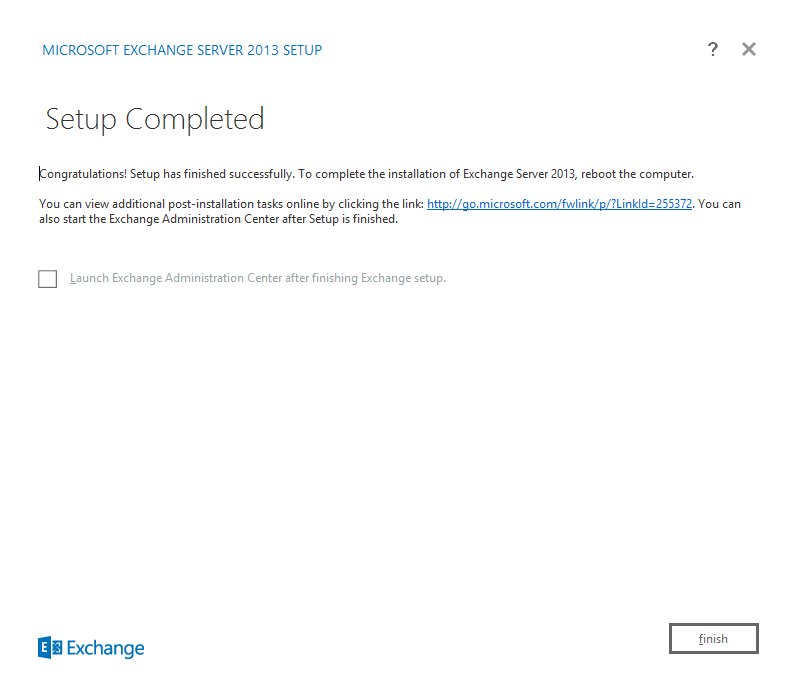
Reboot server to complete installation
Repeat above steps on second domain controller / second CAS server. After this we can continue to install Mailbox server roles on mbx1 and mbx2
![]()
Leave A Comment